Creating Notifications in Symbility Claims Connect
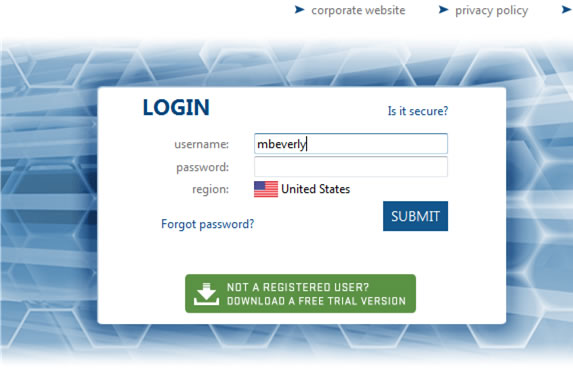
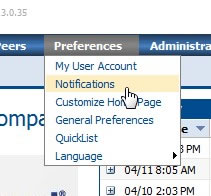
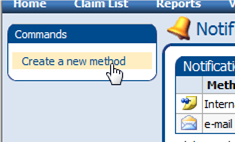
As discussed in the training courses, Symbility is designed for you, the user, to configure your preferences any way you want. With that being said, you as the adjuster must set up your account to send you the needed notifications. All adjusters must set these notifications. Creating notifications is accomplished in Claims Connect. This is the system (Symbility.net) that you accessed to download Mobile Claims. Here are the steps to set up notifications: Here are the steps to set up notifications:
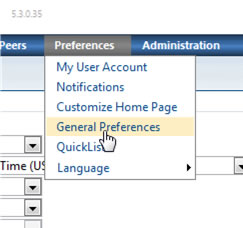
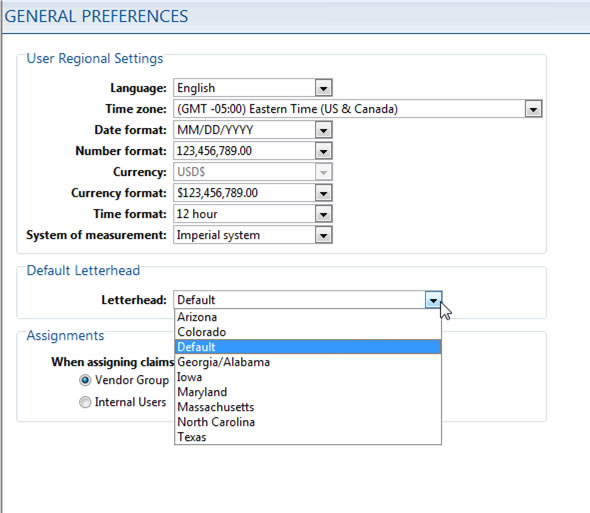
Setting Local Header in Symbility We have set up local headers for all Service Centers handling Symbility claims. As the adjuster, you need to go into Claims Connect and set your header preference one time. It will save your preference for future use. Here are the steps to accomplish this setting:
|
Article Archive:
Tech for You
June 01, 2016
How to Access a One-Time Bypass
May 09, 2016
Another Way to Copy and Paste an Excel Worksheet
April 08, 2016
Another Way to Copy and Paste an Excel Worksheet
March 09, 2016
Change Time Zone Setting in Xactanalysis
February 10, 2016
Copy and Paste Worksheet and Formatting
January 20, 2016
Easily Locate Client Archives in Lotus Notes
December 09, 2015
Creating Notifications in Symbility Claims Connect
November 10, 2015
Converting a Valuation into an Total Loss Estimate in Xactimate
May 1, 2015
Microsoft Office: Tip of the Month
April 1, 2015
Microsoft Office: Tip of the Month
November 1, 2014
Microsoft Office 2013 Office Productivity Suites
October 1, 2014
DMITRISM Risk Management Information System
September 1, 2014
August 28, 2014
Crawford Desktop: Client Report Approval Queue
July 24, 2014
June 17, 2014
Affinity Portal and MyClaimsAgent
May 23, 2014
March 20, 2014
GTS Strategic Loss Management (SLM) System
January 23, 2014